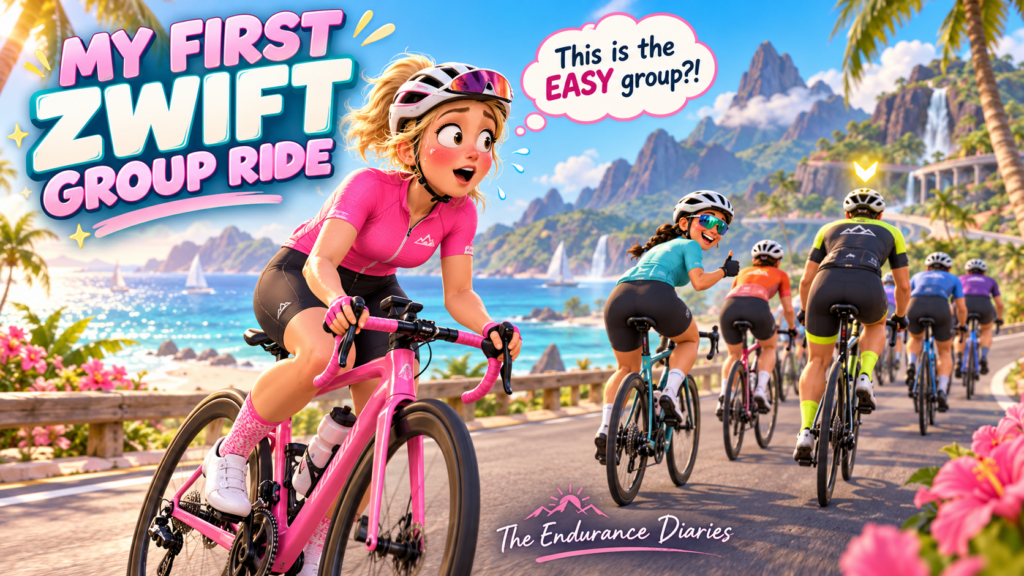
Week four of my beginner Zwift plan ends with one cheerful little line: “jump into a short beginner group ride for the fun of it.” 🩷
Easy for me to type. Less easy when you open the events list and find hundreds of rides, letters from A to E, numbers like “1.5–2.0 w/kg”, and somebody talking about a yellow beacon as if you should know what that means.
I’ll be honest: my first Zwift group ride did not go well. I really struggled to keep up. I was very unfit, I picked a group that was too quick for me, and I had no idea how any of it worked. I spent most of that hour watching the bunch disappear up the road.
So here’s the guide I wish someone had given me: how to choose a ride that suits you, what those letters actually mean (spoiler: D doesn’t always mean beginner), how to get into the start pen calmly, and how to stay with the group once you’re rolling.
✅ Quick checklist for your first group ride
- An advertised pace that sounds comfortable for you
- A manageable duration: 45–60 minutes is plenty
- A gentle route: flat or rolling, not a mountain
- Clear leader notes, ideally with “social”, “beginner” or “no drop”
- Join early, so you’re not rushing at the start
The kind of Zwift group ride we’re looking for
Zwift has all sorts of group events, and they don’t all ride the same way. For a first ride, we’re looking for the beginner-friendly social rides. On these, everyone starts together and follows a ride leader, the rider with a yellow beacon above their avatar. The leader aims for an advertised pace, and the bunch tries to stay together around them.
That’s different from the other events you’ll see in the list:
- Social group ride: led, paced and friendly. This is the one you want.
- Race: exactly what it says. Save it for later.
- Group workout: a structured session everyone does together. Great later on.
- Fondo or tour stage: a big mass ride, often without a leader, where everyone rides their own pace.
Social group rides are not races. Nobody wins. The goal is to ride together, which is why they’re such a lovely way to build confidence.
The letters: why D doesn’t always mean beginner
This is the part that catches almost everyone. Many events split into subgroups labelled A, B, C, D and sometimes E. It’s natural to assume D is the gentle beginner option. Sometimes it is. Often it isn’t.
The reason is simple: each organiser decides what the letters mean for their ride. One club’s D group might roll along at 1.0–1.5 w/kg. Another club’s D group might sit at 2.0–2.5 w/kg. Same letter, very different ride. For a new rider, that gap can be the difference between a lovely social spin and an hour on your own.
- E often means everyone: all levels start together.
- Some events use the letters for something else entirely, such as different routes or a women’s-only start.
- Some events only let you join certain groups, based on your recent riding. If a group won’t let you in, simply choose one that’s available.
So the rule is: ignore the letter, read the description. Here’s what to look for on the event page:
| Check this | Why it matters |
|---|---|
| The w/kg range for your subgroup | This is the advertised effort guide. The letter is just a label. |
| Route, distance and elevation | A flat 25 km and a hilly 25 km are very different rides at the same w/kg. |
| Duration | For a first ride, 45–60 minutes is plenty. |
| “Banded” or “keep together” | These rides are set up to help keep the bunch together while you keep pedalling. Very helpful for a first ride. |
| Late join | Some events let you join after the start. The event page should say whether it’s allowed. |
| Leader notes | Words like “no drop”, “social” or “beginner-friendly” are good signs. “Spicy finish” is not. |
A rough guide to finding your number
W/kg means watts per kilogram: your power divided by your weight. It helps you match yourself to a ride.
- Find your FTP. If you haven’t done a test, Zwift may show an estimate on your profile.
- Divide it by your weight. Example: 150 watts ÷ 68 kg = 2.2 w/kg.
- Multiply by 0.75. Here that gives about 1.6 w/kg.
- Look for a ride where the top of the advertised range is around or below that number.
Use this as a starting point, then check how it feels: you should be able to speak in full sentences. If you don’t know your FTP, choose a gentle beginner ride or a banded event and start conservatively.
It also helps to leave yourself some breathing room. Hills bunch everyone up, and not every leader holds the pace perfectly. If you’re on the lighter side, give yourself a bit more margin too. On the flats, speed comes mostly from raw watts, so lighter riders often have to push a higher w/kg than advertised to stay in the bunch.
How to sign up in the Zwift Companion app
- Open the Zwift Companion app on your phone and go to Events.
- Filter to group rides and pick a time that suits you.
- Open the event and read the description properly (see the table above).
- Choose the subgroup that suits you and tap Sign up.
- Set a reminder so it doesn’t sneak past you.
🇿🇦 SA time tip: many organisers write the start time in the description in UTC or European time. South Africa is UTC+2 all year round, so a “17:00 UTC” ride starts at 19:00 here. If the description and the event time don’t seem to match, double-check before you plan your evening around it.
On the day: getting into the start pen
This is where the nerves kick in, so let’s keep it simple and predictable.
- Log in 10–15 minutes early. Sensors need to pair, and Zwift has a gift for announcing updates at the worst possible moment.
- Start any free ride and warm up gently. You’re waking the legs up, not proving anything.
- Tap “Join” when the prompt appears. Zwift moves you to the start pen, the area at the start line where everyone gathers before the countdown.
- Keep spinning in the pen. You can pedal while you wait, so stay warm.
- Keep pedalling through the final countdown so you’re already producing steady power when the ride starts.
Some groups start briskly, so have everything ready before the countdown finishes. Follow the leader’s advertised pace rather than chasing riders who sprint away.
Before you join, sort out the basics: fan on, bottle full, towel within reach, and your phone nearby with Companion open. And yes, go to the loo first. 😅
How to stay with the group
- Find the yellow beacon. That’s the leader. Stay around them and avoid riding off the front.
- Sit in the middle of the bunch. That’s where the draft is strongest and where you’ll usually do the least work.
- Ride smoothly. Steady pressure on the pedals beats surging and freewheeling.
- Ease into the climbs a little early. Groups tend to stretch on hills, so a small extra effort at the bottom can save a big one at the top.
- Keep pedalling over the top. The bunch often speeds up as it crests a climb, so give it a few steady pedal strokes past the summit.
- Read the chat. Leaders often post instructions like “regroup at the top” or “easing for two minutes”.
And if you get dropped?
It happens to everyone. It certainly happened to me. Don’t empty the tank chasing for five minutes, because you’ll just blow up and feel rubbish. Settle into your own steady pace. Many rides have a sweeper, a volunteer who rides at the back to help riders who’ve fallen behind, and there’s often another little group nearby you can join.
You still did the ride. Next time, try a gentler range or a banded ride, and give it another go.
The letter tells you very little. The numbers in the description tell you much more.
Group ride etiquette in one breath
- It’s not a race. Sprinting off the front splits the group and forces others to chase.
- Follow the leader’s pace and instructions.
- Be kind in the chat. A quick “Ride On” 👍 costs nothing.
- Thank the leader and the sweepers at the end. They’re often volunteers giving up their own training time so you can ride in company.
Want a little structure while you build confidence? 🩷
My 🩷8-Week Zwift Beginner Plan gives you three short rides a week, with tick-boxes and space to note how you feel. Print it out and tick off each ride as you build your routine.
After your first group ride
Take a moment afterwards and be honest with yourself. Did it feel easy and chatty? You’ve found a good fit. Stick with that group while your confidence grows. Did you hang on by your fingernails? Try a gentler range or a banded ride next time. Either way, you’ve learnt something useful about where you fit.
If it stayed easy, count it as your easy ride for the week. If it turned into a hard effort, count it as a hard session and keep the next ride gentle. Too many accidental hard rides is one of the reasons progress stalls, which I wrote about in why Zwift gains stall and how to fix the easy days.
Once you’re comfortable in a bunch, bigger mass events like Tour of Watopia 2026 feel a lot less scary. That’s the real win: finding a group you’re comfortable in is a success in itself. Zwift stops being something you do alone in the garage and starts feeling like a ride with friends. 🚴♀️
New to all of this? Start with What Is Zwift? The Beginner’s Guide and Indoor Cycling for Beginners.

🩷The Endurance Diaries🩷