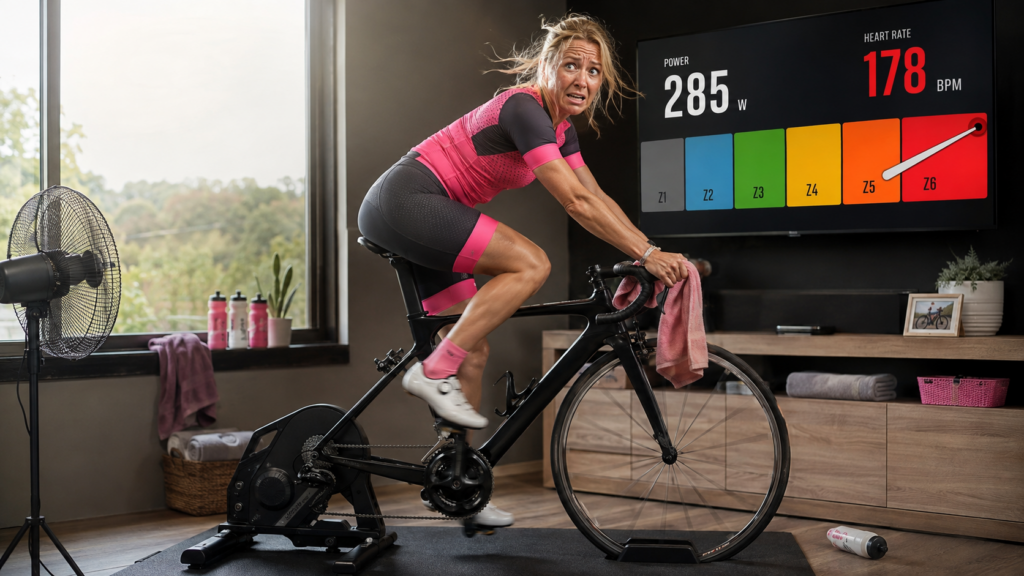
For years, I rode at one speed: medium-hard. Every ride. Easy days weren’t easy, hard days weren’t hard, and I sat permanently in the grey zone, always a little tired and never actually getting faster. Then I started paying attention to zones, and it turned out the problem was never effort. It was aim.
Zones sound like something reserved for people with coaches, aero helmets, and spreadsheets. They’re not. They’re just a way of saying How hard is this, and what is it actually doing for me. Once that clicked, my training got easier, and my legs got better. Let’s unpack it without the sports-science lecture.
What training zones actually are
A training zone is a band of effort. Ride inside that band, and your body responds in a specific way — building your aerobic engine, teaching you to hold discomfort, or sharpening your sprint. Ride between the bands all the time, and you get a bit of everything and not much of anything.
Most cycling zone systems are built around your FTP—functional threshold power. In plain terms, that’s roughly the hardest steady effort you could hold for about an hour before your legs file for divorce. Every zone is then a percentage of that number. The reason coaches use threshold as the anchor is that it quietly reflects three things at once: your aerobic ceiling, how much of that ceiling you can actually sustain, and how efficiently you pedal.
No power meter? No problem, and I’ll come back to that. Effort and heart rate work perfectly well to start.
The zones, in plain language
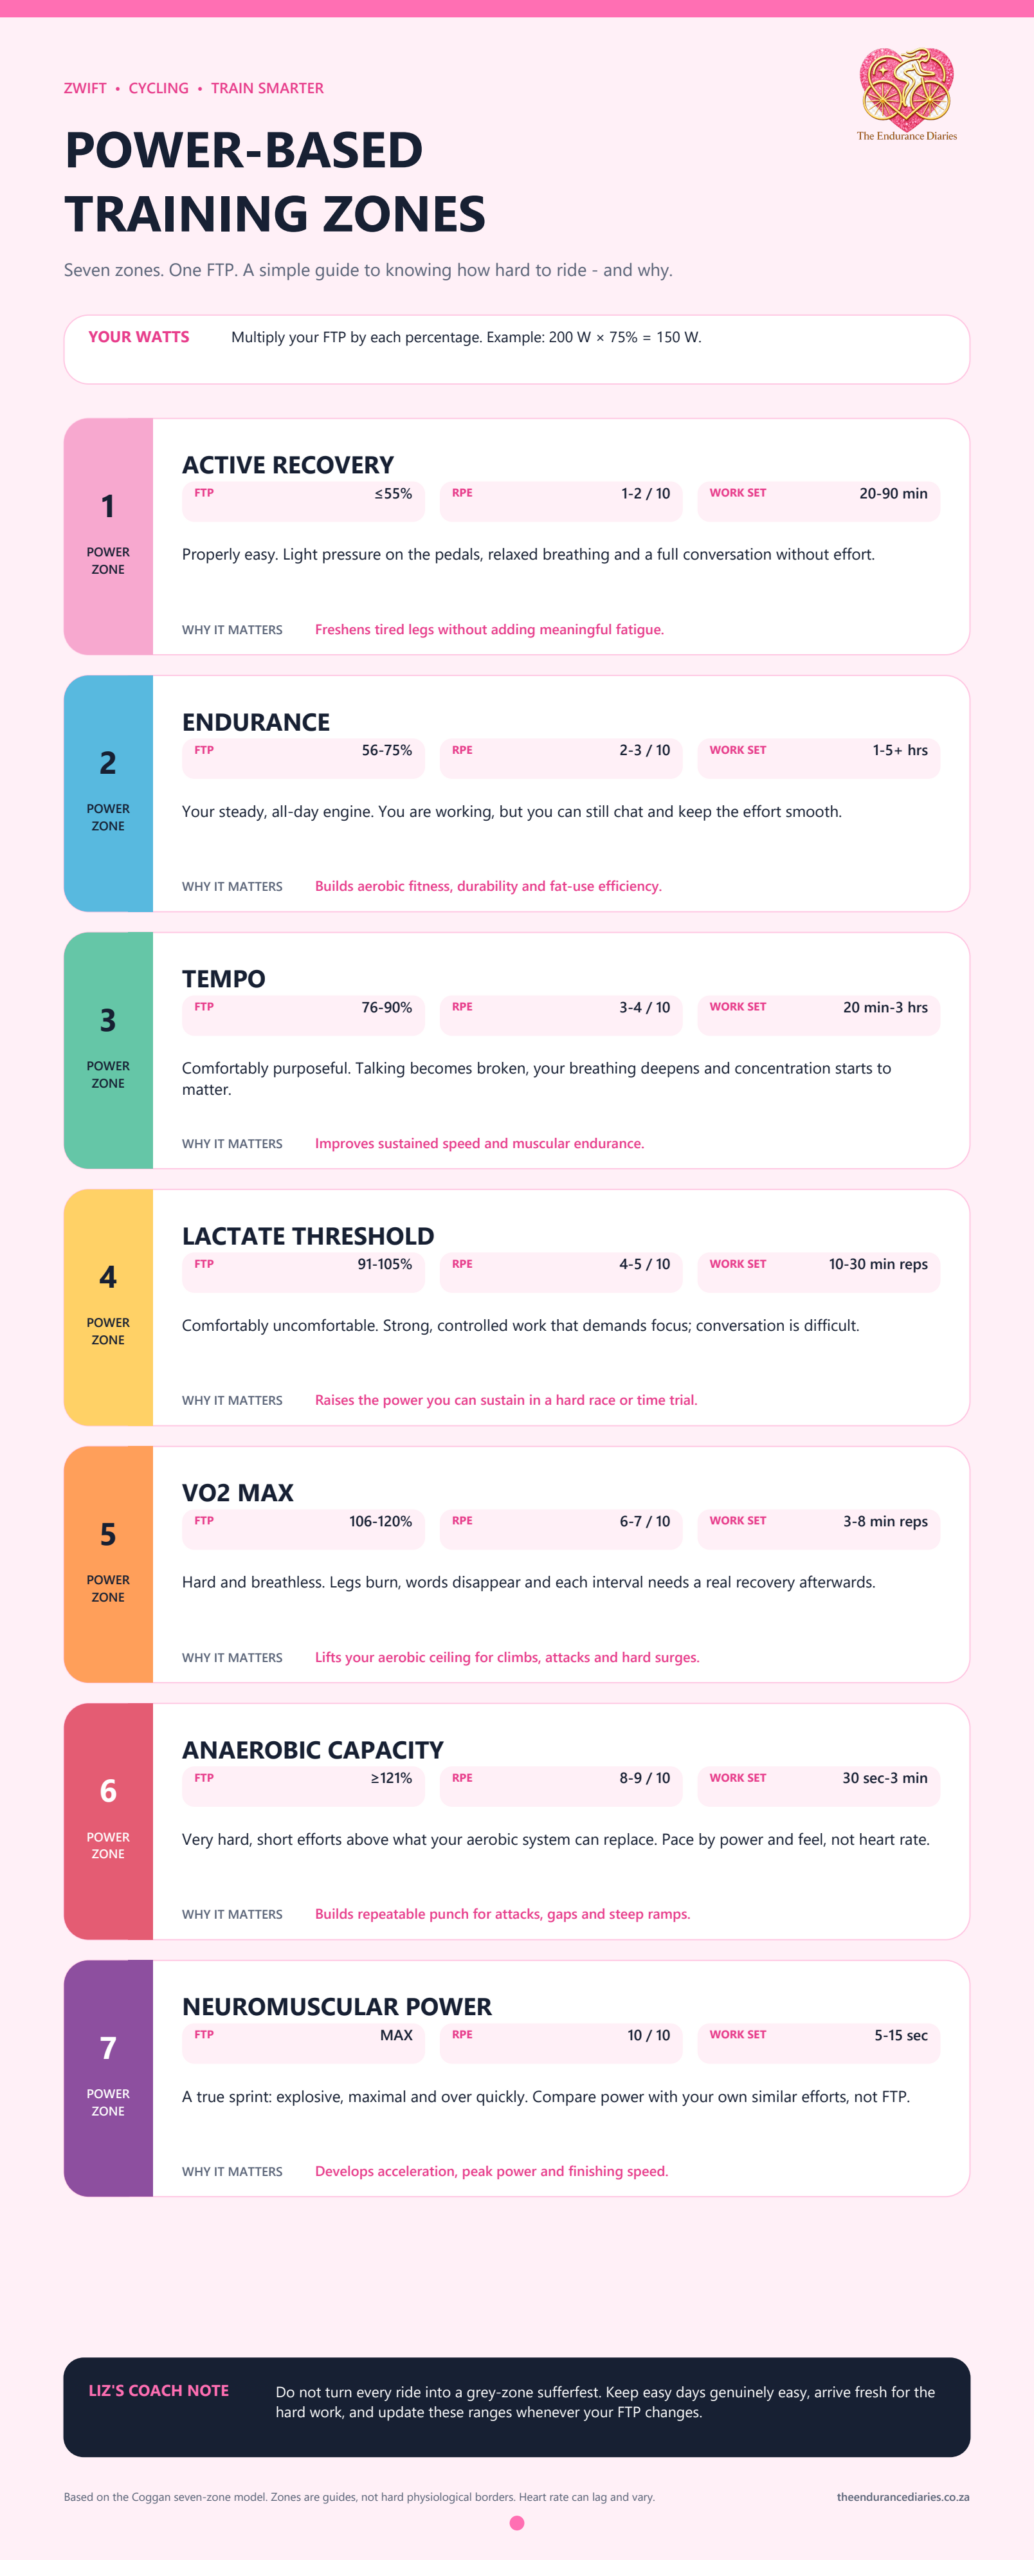
Here’s the classic seven-level model (the one most platforms are based on), with the talk test alongside it — because “can I still hold a conversation” is honestly the most useful power meter you own.
| Zone | Name | % of FTP | What it feels like | What it’s for |
|---|---|---|---|---|
| 1 | Active recovery | Under 55% | Chatting easily, almost lazy | Flushing the legs, recovery spins, warm-ups |
| 2 | Endurance | 56–75% | Full sentences, comfortable for hours | Your aerobic base — fat burning, mitochondria, the boring gold |
| 3 | Tempo | 76–90% | Short sentences, “spirited” group ride pace | Sustainable strength, glycogen storage |
| 4 | Threshold | 91–105% | A few words only, properly uncomfortable | Raising your FTP, time-trial and climbing pace |
| 5 | VO2 max | 106–120% | Can’t talk, counting down the seconds | Growing your aerobic ceiling |
| 6 | Anaerobic | Above 120% | Please make it stop | Short, punchy efforts, attacks, bridging gaps |
| 7 | Neuromuscular | Off the chart | Sprint. Then gasp. | Raw power, standing starts, sprint finishes |
You’ll also see the sweet spot floating around (roughly 88–94% of FTP). It’s not an official zone — it’s the sneaky overlap between tempo and threshold where you get a lot of fitness for less wreckage. It’s why so many indoor training plans use it.
How do the zones look on Zwift?
If you ride Zwift, you already know the zones by color long before you know them by number. Zwift simplifies things into six color-coded bands:
- Grey — under 60% of FTP. Coffee-ride energy.
- Blue — 60–75%. Endurance. Where most of your minutes should live.
- Green — 76–89%. Tempo. Feels productive, and it is.
- Yellow — 90–104%. Threshold. This is the “why did I sign up for this” color.
- Orange — 105–118%. VO2 max. Brief and brutal.
- Red — above 118%. Sprint or attack. You cannot live here.
The lovely thing about a structured Zwift workout is that ERG mode holds the power for you. You don’t have to be disciplined — the trainer simply refuses to let you cheat. Which is either a gift or a personal attack, depending on the day.
One honest note for us: indoor time is concentrated. There’s no coasting, no robots, no freewheeling down the other side. An hour on the turbo counts for more than an hour on the road, so don’t feel you need three-hour indoor epics to be doing it properly.
Sorting out your pain cave first?
Zones only help once the setup isn’t fighting you — fan, towel, water, and a plan for when Eskom has opinions. Have a look at what’s in the shop for indoor riding.
Finding your FTP without ruining your week
You need a rough FTP number for the percentages to mean anything. Rough is fine. You are not submitting it to SARS.
- Ramp test — the power climbs steadily until you can’t hold it. Short, horrible, over quickly. My pick.
- 20-minute test — ride as hard as you can hold for 20 minutes, then take about 95% of that average. More accurate, more mentally scarring.
- Let the app estimate it — most training platforms now work your FTP out from rides you’ve already done. Zero extra suffering, which is a strong selling point.
Retest every six to eight weeks, or whenever your “hard” starts feeling suspiciously manageable. And if your FTP drops after illness, a busy work stretch, or a break — that’s information, not a character flaw. Reset it and train the body you have this week.
No power meter? Use effort and heart rate
Plenty of us started with a dumb trainer, an old bike, and a watch. That’s enough.
- The talk test is genuinely reliable. Full sentences = endurance. Short sentences = tempo. A few words = threshold. Nothing = you’re in the deep end.
- Heart rate works well for the easy and steady zones, but it lags. It won’t catch a 30-second sprint, and it drifts upward on hot days or when you’ve slept badly — so treat it as a guide, not a verdict.
- RPE (how hard it feels out of 10) is free, immediate, and surprisingly accurate once you’ve practiced it.
Nobody is riding “wrong” because they don’t own a power meter. The zones existed before the numbers did.
How to actually use the zones in a normal week
Here’s the part that changed my riding most: most of your training should be easy, and a small slice should be genuinely hard. The middle is where good intentions go to die.
- Make it easy, properly easy. Zone 2 should feel almost too gentle. If your endurance rides leave you tired, they’re not endurance rides — they’re tempo in disguise.
- One or two hard sessions a week is plenty. Threshold or VO2, not both, plus a race plus a “quick” group ride.
- Don’t sprinkle intensity everywhere. Three medium-hard rides beat nothing, but two easy plus one hard beats all three.
- Load shedding plan: if the slot eats into your interval session, do a shorter version — three 5-minute intervals at threshold still count. And an outdoor ride in the dark on a trainer-free evening is a legitimate choice.
- Recovery is in the plan, not a failure of it. An easy week every three to four weeks is when the fitness actually lands.
If you want more on building a week that survives real life, have a browse through the Training Tips and Zwift sections.
Final thoughts
Zones aren’t about becoming more serious. They’re about becoming more deliberate — knowing what a ride is for before you clip in, and then letting yourself do it properly. Easy days are easy, so the hard days can be hard. That’s the whole trick.
You don’t need a coach, a lab test, or a new bike to start. You need a rough FTP, an honest chat test, and the discipline to ride slowly on the slow days. That last one is harder than any interval.
Riding smarter isn’t riding harder. It’s knowing which kind of hard today is asking for.
Are you a zones person or a “ride how you feel” person? I’d love to hear — come say hello. 🩷

🩷The Endurance Diaries🩷