Indoor cycling used to have a bit of a reputation — the boring backup for when you couldn’t ride outside. Not anymore. These days it’s one of the smartest, safest, most convenient ways to get properly fit, and you can do it in a corner of your spare room in your slippers (well, cycling shoes).
If you’re brand new and not sure where to begin, this is your simple starting point — the gear, the setup, and how to actually enjoy it instead of white-knuckling through 20 minutes of misery. 🩷
Why indoor cycling is worth it
For South African riders, training indoors quietly solves the things that derail most training plans:
- It’s safe. No traffic, no dodgy roads, no riding alone in the dark. Train early or late without a second thought.
- It’s weatherproof. Rain, wind, heat — none of it touches your ride.
- It’s efficient. A focused 45 minutes indoors can do more than a stop-start ride outside. Ideal for busy weeks.
- It builds consistency. And consistency — not the odd epic ride — is what actually makes you fitter.
What you actually need to start
Less than you think. Here’s the honest list, from must-have to nice-to-have.
The essentials
- A bike — the one you already have — is perfect to start with.
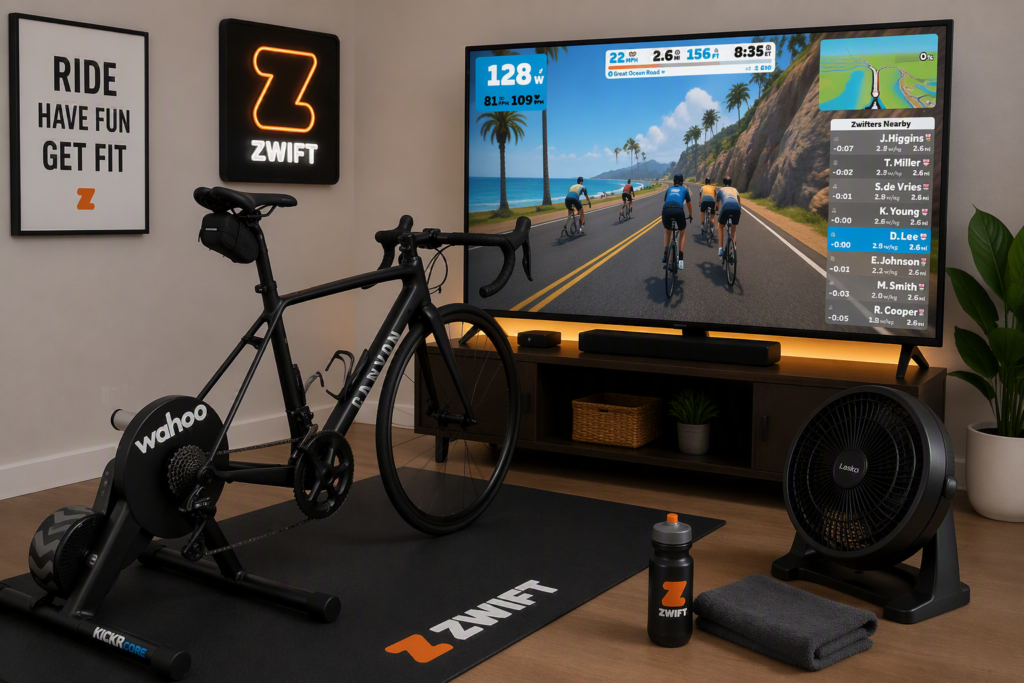
- An indoor trainer — this holds your bike in place. A basic classic trainer is the budget entry point; a smart trainer (which auto-adjusts resistance and connects to apps) is the full experience.
- A fan. Non-negotiable. Indoors, you don’t have the breeze cooling you, so a fan is the difference between a good session and a sweaty ordeal.
- A water bottle and a towel. You’ll need both, trust me.
Nice to have
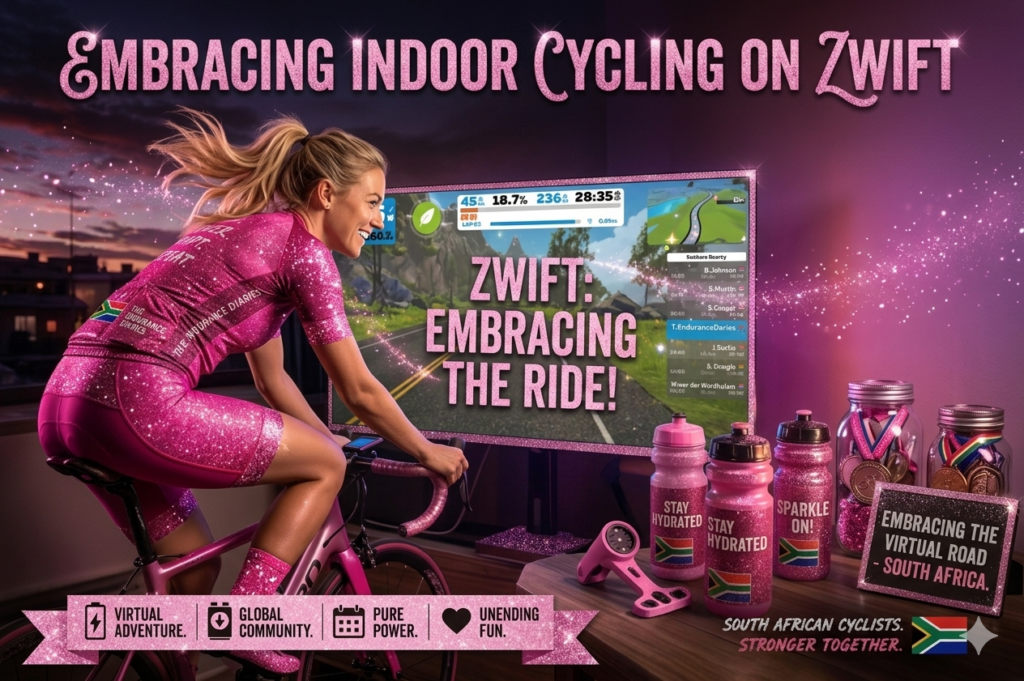
- A device + training app — a laptop, tablet or phone running something like Zwift turns a dull spin into something you actually look forward to.
- A trainer mat — protects your floor and catches the sweat.
- A sweat towel for your bars — indoor sweat is brutal on your frame and bolts over time.
Setting up your space
You don’t need a fancy “pain cave”. You need a bit of floor space, a nearby plug, and airflow. Set your bike up on the trainer, put your fan in front of you, prop your screen at eye level, and keep water within reach. Give yourself enough space to get on and off comfortably, and you’re sorted. A little corner is genuinely all it takes.
(And yes — for years load shedding pushed a lot of us indoors in the first place. Now that the lights mostly stay on, indoor cycling has become a choice rather than a necessity. A happy one.)
How to actually enjoy it (not just survive it)
- Keep most rides easy. If every session is a smash-fest, you’ll dread it. Easy, chatty-pace riding is where the magic is.
- Give yourself something to watch or ride toward — a series, a virtual world, a group ride. Boredom is indoor cycling’s only real enemy.
- Start short. 20–30 minutes is a completely respectable beginner ride. Build from there.
- Follow a simple plan, so you’re not making it up each time. My first 4-week plan is a gentle place to start.
Stay consistent from day one 🩷
The hardest part of indoor cycling isn’t the riding — it’s keeping the habit. My Training Tracker helps you plan your three rides a week and tick them off, so consistency feels good instead of vague. Instant download.
Your first week, sorted
Set your bike up somewhere you’ll actually use it. Get a fan. Do three easy 20-minute spins this week, just to settle in. That’s it — you’re an indoor cyclist now, and you’ve dodged every excuse the weather and your calendar can throw at you. From here, it only gets more fun.
You don’t need the perfect setup. You need a bike, a fan, and a reason to show up.

🩷The Endurance Diaries🩷